As a staple piece of bedroom furniture, the wardrobe often ends up being more functional than fashionable. But with a little creativity and DIY confidence, it’s possible to create a bespoke, high-end look—without the high-end price tag.
When Claire Douglas revamped her son’s bedroom, she wanted to create a practical, stylish space that worked for both homework and gaming. A fitted wardrobe was top of the wishlist—but with a tight budget, hiring a carpenter was off the cards.
Instead, she picked up two flatpack wardrobes from Argos (around £80 each) and transformed them using MDF wall panel sheets from Panels by Sofia.
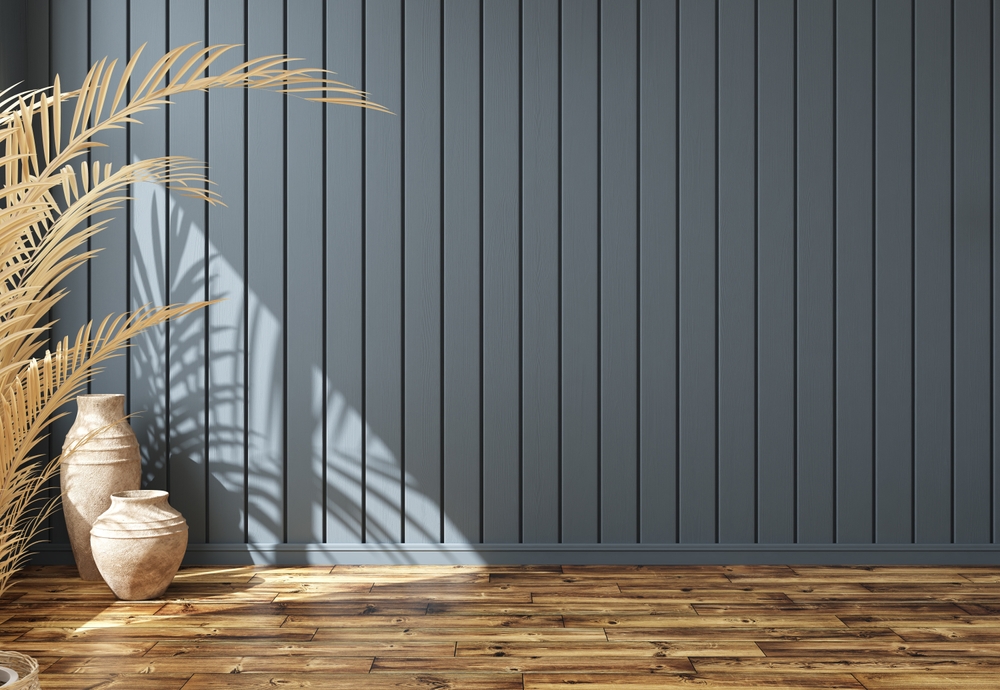
Wall panelling is having a moment—Google Trends data shows searches have risen 53% in the UK over the past five years—but many people don’t realise just how versatile these panels can be.
Claire, the interiors expert behind Claire Douglas Styling, shares how she turned simple freestanding wardrobes into built-in-looking storage with a sleek desk area in between.
“I love the look of built-in wardrobes, so I came up with a hack to make the most of the space. You don’t need loads of tools either—pre-cut MDF panels make this a genuinely achievable weekend project.”
Claire’s Step-by-Step DIY Fitted Wardrobe Hack
You’ll need:
Materials:
- Two freestanding wardrobes – Argos
- CLS timber for framing – B&Q
- MDF wall panel sheets – Claire used Bead and Butt from Panels by Sofia
- Screws, wall fixings, grab adhesive, door handles, decorator’s caulk, strip moulding, sandpaper, paint
Tools:
- Saw, drill, screwdriver, measuring tape, spirit level, caulking gun, wall scanner
Step 1: Position the wardrobes
Claire started by measuring the space and sketching out her design. The wardrobes were shorter than the ceiling, so she created a timber frame above them for extra storage.
Step 2: Build the timber base frame
To raise the wardrobes and give them a level base, she built a CLS timber frame secured to the floor. If you’re doing a full wall of wardrobes, build the frame the full width.
Step 3: Frame the top gap
Claire constructed a simple frame between the top of the wardrobes and the ceiling, which acted as a fixing point for the MDF panels.
Step 4: Fit the MDF panels
Using pre-primed bead and butt panels from Panels by Sofia, Claire attached them to the wardrobe fronts, sides, and gap above with grab adhesive and screws. Ribbed strip moulding helped cover joins neatly.
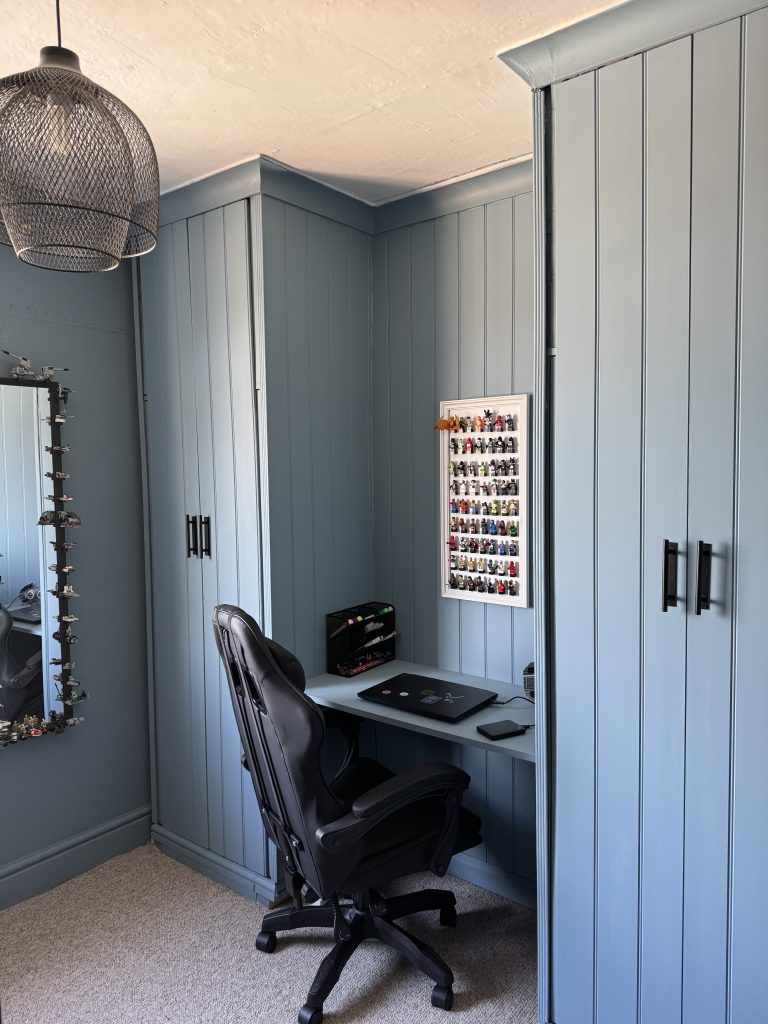
Step 5: Add a desk in between
An MDF panel was cut to size and fixed between the wardrobes to create a built-in desk. It was supported with brackets and checked with a spirit level.
Step 6: Extend the doors to the ceiling
Claire added full-height MDF panels to the wardrobe doors, leaving just enough space so they still opened fully. This completed the built-in illusion.
Step 7: Finishing touches
After filling, sanding, and painting the wardrobes, she added adhesive door handles for a smart finish. Claire also recommends adding coving at the top to complete the look and hide any joins at ceiling height.
“This was such a satisfying DIY project—and I saved over £2,300 compared to getting it done professionally.”
The Cost Breakdown
According to Checkatrade, the average cost of standard fitted wardrobes in 2025 is £3,250. Claire’s clever DIY solution cost just £912.33*—a saving of £2,337.67.
What she spent:
- Flatpack wardrobes: £200
- Panels by Sofia MDF: £600
- Paint: £23
- CLS timber: £33.20
- Screws: £7.99
- Wall fixings: £4.99
- Grab adhesive: £10.99
- Door handles: £14.84
- Decorator’s caulk: £1.39
- Strip moulding: £14.94
- Sanding sponge: £0.99
Total: £912.33
*Panels were gifted by Panels by Sofia.
Interior Design Made Easy: Colour Combinations That Transform Your Space